My First App
This tutorial will guide you through the basic steps needed for creating your first app. The process is easy: first you define the objects that your app will handle, and then you build the pages that will let users browse and manipulate such data.
Step one: give a name to your app
Just enter Bobuild and click the "Create app" button.
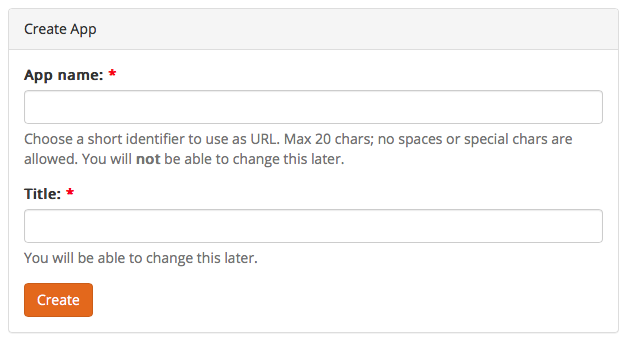
Choose a short app name. This will be used as the app domain: https://APPNAME.bobuild.com/
Now you need to go through two steps:
- Design your database
- Design your application pages
Design your database
This step is easy. You define the objects and the fields that you want to store in your database.
An object is just an entity: for example, customer, product, or order.
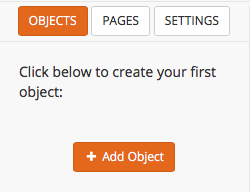
Start creating your objects by clicking the Add Object button:
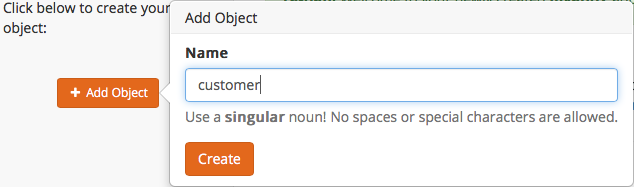
You'll be prompted for the object name:
Now you need to define one or more object fields. Think about fields as the columns of a spreadsheet: they define the properties of your object. For example, a customer may have these fields: name, lastname, address, email and many more.
When you create an object, the id field will be created for you: it's a special field that you cannot change or delete. It's automatically populated with an incrementing number identifying the record uniquely.
Now add your first field by clicking the Add Field button:
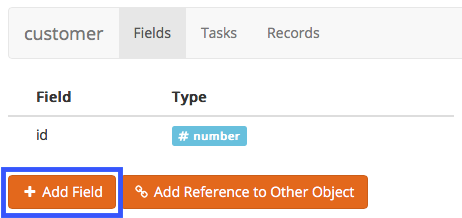
You will be prompted for the field name and type. Choose the type that best describes the data you'll put in this field:
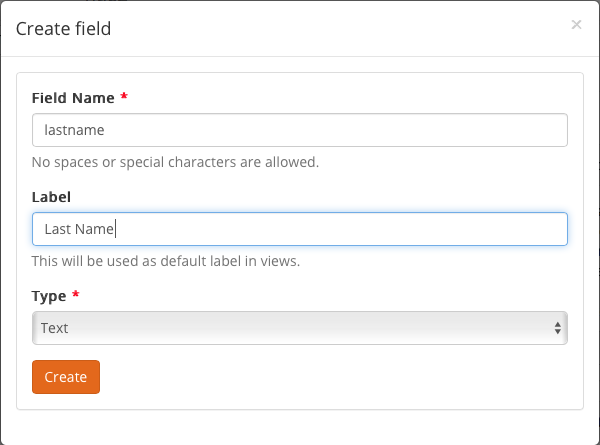
Repeat this step for all the desired fields.
Connect objects with relationships
Objects have relationships among them: each order belongs to a single customer, while each product may be associated with multiple orders.
For a simple first app, create three objects:
| Object | Suggested fields |
|---|---|
| Customer | name (Text), email (E-mail), phone (Text) |
| Product | name (Text), price (Number) |
| Order | order_date (Date), status (Choice: Draft / Confirmed / Shipped), customer (Reference → Customer), products (Reference Array → Product) |
Use a Reference field when a record belongs to one related record (the order’s customer). Use a Reference Array when a record links to many related records (the products on an order). See Field types and Data modeling for more patterns.
Add a few sample customers and products from the Builder data view so you have something to click through later.
Design your application pages
With data in place, open the Pages section of the Builder. You will design the screens end users see in the live app.
Create a backoffice portal
- Keep (or create) a top-level page — call it Backoffice.
- Drop a Menu widget if you want navigation cards or buttons later; for this tutorial a simple layout is enough.
- Add a child page named Customers.
- On that page, drag a Grid widget, set it to list Customer, and enable the columns you care about (
name,email,phone). - In the grid options, turn on create/edit if available so staff can add customers from the app (not only from the Builder).
Open the live app URL (https://APPNAME.bobuild.com/) and confirm the grid shows your sample customers.
Add a detail page
- From the Customers grid, create a child page (or follow the Builder prompt) for a single customer — name it Customer detail.
- Add a Detail widget bound to Customer so operators see the selected record.
- Optionally add a second Grid on the same page listing Order records filtered to the current customer (orders whose
customerreference matches this record).
Click a customer in the grid: you should land on the detail page for that person.
Add a form to create orders
- Create a page New order (child of Backoffice or of Customer detail).
- Drag a Form widget configured to create an Order.
- Include
order_date,status,customer, andproducts. - On submit, set a follow-up to return to the customer detail or an orders list.
Submit a test order from the live app and verify it appears in your grids.
Optional: notify someone by e-mail
On the New order form, add a task that runs on submit and sends an e-mail to a fixed address (your inbox) with the order details. That single automation is enough to prove workflows before you build a full status machine.
What you built
You now have:
- a small data model with relationships;
- a staff portal with list → detail navigation;
- a form that creates related records;
- (optionally) a first e-mail automation.
Next steps
- Glossary — Builder vocabulary in one place
- Request portal tutorial — public form + staff queue + status e-mails
- Data modeling — when to use references, globals, and auto fields
- User login — protect the backoffice and open a customer portal
- Snapshots — take a backup before larger redesigns